STORE CLOSING DOWN | EVERYTHING 50% OFF | SHOP FINAL SALE
STORE CLOSING DOWN | EVERYTHING 50% OFF | SHOP FINAL SALE
Play & Learn
ORAL & BREATHING
SENSORY
SHOP BY

How to Glue a Wooden Puzzle and Mount it for Display
September 27, 2021 5 min read
What to do with a jigsaw puzzle when finished?
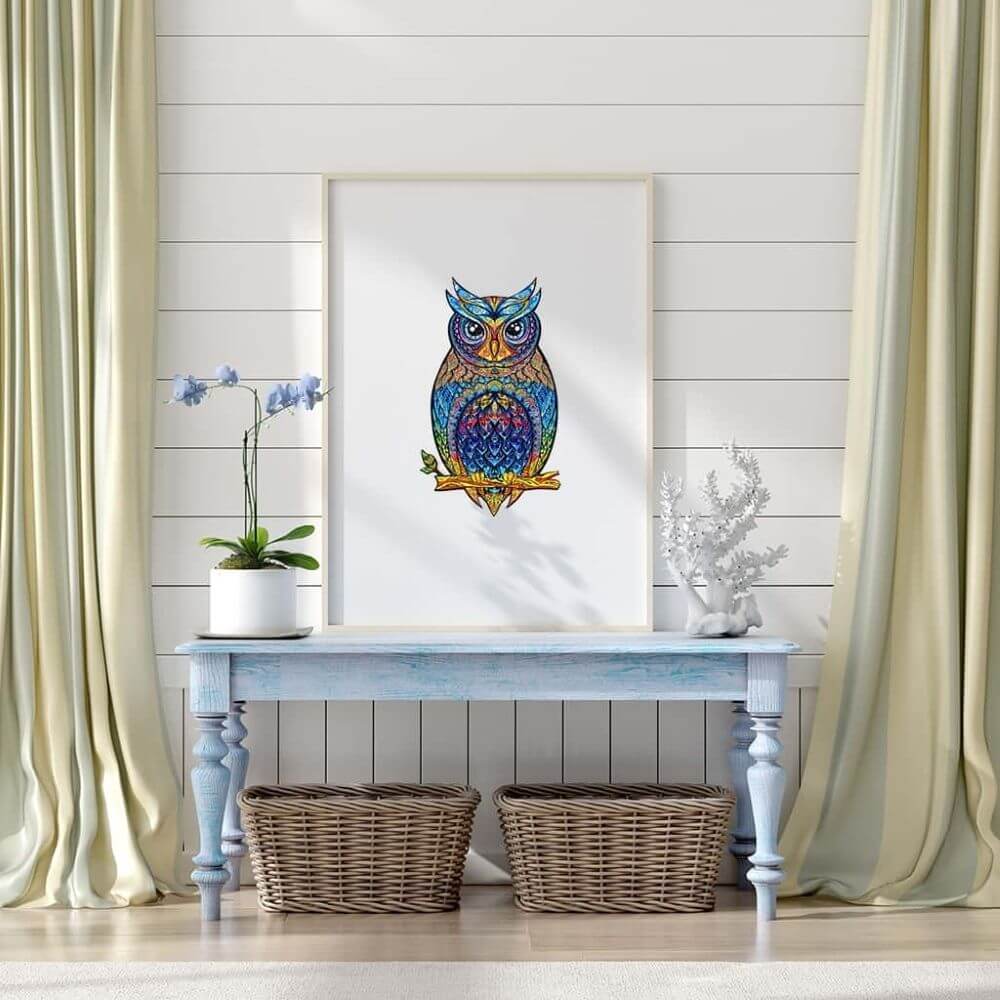
You waited eagerly for your wooden jigsaw puzzle to arrive. You were delighted to unbox it and touch its laser-cut intricate animal-shaped pieces. It took you days to finish it because it was quite complex to put together. And now, finally, you’re admiring your masterpiece: a stunning print with vibrant colors. You think that it would make an excellent addition to your living room which is a bit dark. The more you admire it, the more you believe that your gorgeous wooden puzzle will bring cheer to the room which now seems a bit dull too. But how can you mount it on the wall? Read on, we’ll guide you step by step through the process.
HOW TO GLUE A WOODEN PUZZLE TOGETHER
Step 1 – Preparation
You would want to put a piece of wax or parchment paper underneath the puzzle before you glue. Baking paper would work well. This will prevent the wooden jigsaw puzzle from adhering to your table or surface. Remember to leave a few centimetres all the way around your wooden puzzle to protect the work surface from any excess glue. Use a rolling pin will ensure that the wooden puzzle is as flat as possible.
Step 2 – Picking a glue
There are many types of puzzle glue, including powder, liquid, and spray-on. We prefer liquid glue because it is pre-mixed and will coat more evenly than spray-on types. The powder works fine for some people, just need to be careful to mix it correctly. You want a glue that seals clear, solid, and strong.
For best results, we recommend using a purpose-made puzzle glue such as the Puzzle Glue Conserver Permanent 200ml by Ravensburger. Loved by puzzlers all over the world, this easy-to-use liquid glue dries clear in about one hour, keeping your completed puzzle sealed and secure. It is suitable for both cardboard puzzles and any wooden puzzle in our collection, and one bottle is enough for multiple projects.
Step 3 – Applying the glue on the front
Start pouring a light amount of glue on one end of your jigsaw puzzle. Use a spreader (a business card, a piece of cardboard, a sponge brush, or a cheap art paintbrush) to distribute the glue evenly, working towards the opposite end of the puzzle. Some adhesive bottles have a brush attached to the bottle cap to use for spreading the glue along the surface of your wooden puzzle. Make sure you cover all the pieces of your jigsaw puzzle, filling every crack between them, especially the edges but don’t glue the puzzle to the parchment paper. Don’t stop to do anything else once you have started applying the adhesive, otherwise, the job will be spoilt.
Don’t worry about the immediate look of your puzzle, just make sure you are covering it completely. The glue will dry with a nice even finish, so don’t be alarmed by any small air bubbles that may appear on the surface of the glue. These will normally shrink and disappear.
Let the glue dry according to directions on the glue bottle or let dry longer if you apply a thick layer of glue. Some glues will take up to 4 hours to bond, seal, and dry property, but in most cases, it is dried in about 2 hours. Once it is dry, you can use a ruler or a spatula, or something similar to separate the wooden jigsaw puzzle from the paper. Gently lift the puzzle and turn it face down on the wax paper.
Step 4 – Applying the glue on the back
Normal jigsaw puzzles with pieces made of cardboard do not require this step. Our wooden jigsaw puzzles have heavy basswood pieces, so applying glue only on the front of the puzzle will not keep it together for mounting. Apply a light coat of adhesive on the back of the puzzle as described in Step 3.
After this step, you can consider the work done if you’re planning to take your jigsaw puzzle to a framing shop. Lay it on a flat stiff surface during the transport and ask the framing store to do a “dry mounting”. Then let the framing professionals do their magic.
But if you’re on a budget and planning to do the wall mounting yourself, please read on.
HOW TO DISPLAY A WOODEN PUZZLE WITHOUT A FRAME
Step 1 – Preparing the foam board
Although it has been glued on the front and back, the adhesive is not strong enough to hold the heavy puzzle pieces together while the wooden puzzle is displayed on a wall. To make it stronger needs to be mounted on a foam board that will prevent your puzzles puzzle from warping. You can get purchase foam boards from Officeworks or Spotlight.
Lay the foam board on the work surface and lay the wooden jigsaw puzzle on top. Make sure the puzzle is face up. Draw along the edge of the puzzle with a pencil. Using scissors carefully cut the foam board to match the edges of your puzzle. Double-check that the puzzle fits on the foam board without a visible overhang. If you notice more of the foam board than you like on the sides, you can cut more off.
Step 2 – Gluing the wooden jigsaw puzzle to the foam board
Position the puzzle face down on the wax paper.
Apply craft glue on the entire surface of the foam board making sure that you do not go right on the edges. Work quickly so that the adhesive does not start to dry. If you’re using spray adhesive, keep in mind that it dries much faster than the liquid glue, so read the instructions on the can to see how long you have before the glue sets.
Then position the foam board over the face-down jigsaw puzzle lining up the edges. You may have just a few seconds to get the edges lined up before the glue sets and the puzzle becomes impossible to move on the foam board. Gently press down all over with a rolling pin to make sure the glue on the board bonds well with the back of the wooden puzzle.
Place some heavy items like books on the foam board and let it dry for 24 hours.
Note: do not use jigsaw puzzle glue or any other type of liquid glue unless you are going to mount the wooden puzzle in a frame. The liquid glues can cause the board to warp due to the glue not drying evenly.
Your masterpiece is now ready to hang on the wall.
Step 3 – Hanging your jigsaw puzzle up
Picture hanging strips from 3M are relatively inexpensive, easy to apply and reposition. They are also a great option because you do not have to put holes in your wall, especially if you’re renting. But if you’re willing to drill holes, then can also use any other product that you would normally use to hang a picture up on the wall.
Now you can finally admire your beautiful new piece of art created entirely by YOU. Grab a cup of tea or a glass of wine and enjoy the moment. Be ready to receive lots of compliments from the people you have over.
Subscribe
Sign up to get the latest on sales, new releases and more …